Friday 31 August 2012

Golden Trelis


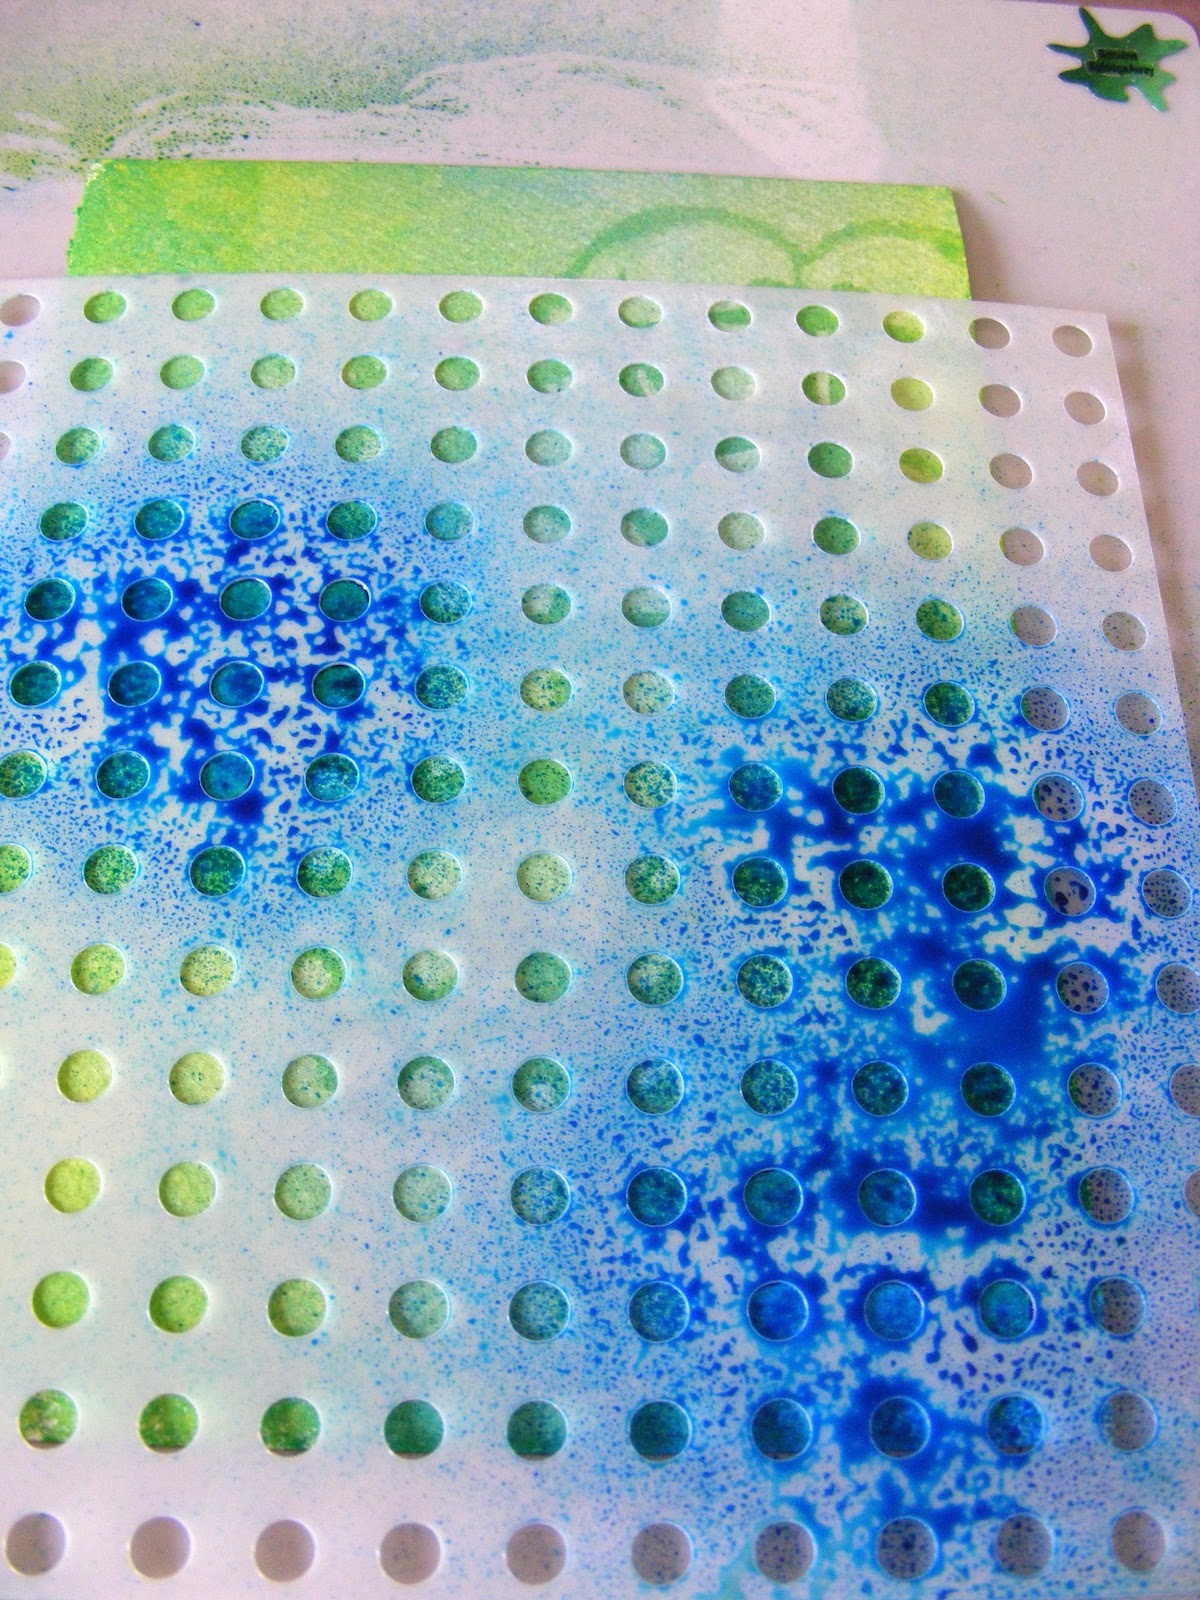
I wanted to use the mask  differently to how I have so far.... with inks, etc so I decided to do some cutwork to create extra impact!
Project By Jayne Davies


You will need:

  • SplodgeAway Mask
  • Birdcage die
  • Gold flowers
  • Gold card candy
  • Gold, Black and copper stickles
  • Gold promarker
  • Swirl stamp (HOTP)
  • Sentiment stamp 
  • Bird stamp
  • Ultra Thick Embossing Powder
  • Gold embossing powder
  • 8”x8” card blank
  • Black card
  • Gold mirri card
  • Gold patterned card

 What to Do :

Cover your card blank with black card. Run the mirricard and mask through a die cutting machine to emboss it and cut the birdcage from patterned gold card. Using a craft knife cut the squares from the embossed card to create a’ trellis’ design.Cut a piece from each end (keeping the border on) and adhere to your card as shown, leaving the middle clear.

Stamp the swirl stamp with versamark and emboss with gold embossing powder. Add gold stickles and put  aside to to dry. Stamp and emboss your chosen sentiment. Use the ultra thick embossing powder to create your bird and cut it out.
Decide where your birdcage is going to be placed and stick your bird so it will be in the cage. Use the gold promarker and ‘doodle’ some trailing vines around the cage. Do some on a separate scrap of card and cut out to place over the front of the cage.

Use sticky pads to apply your birdcage and add a ribbon bow. Finish the bow with a small amount of stickles to ‘tie’ it all in together.Glue the vines onto the birdcage front.

Now for the finishing touches! Add gold flowers to the corners as shown and use black stickles for centres. Use card candy and place at top and bottom centre.  Adhere your sentiment after layering it onto mirri card.

Hope you like this bold design and have as much fun creating it as I did. ? Thanks for looking.
Hugz, Jayne xx


Wednesday 29 August 2012

Kimono Gold

As DT Co-Ordinator I have the priviledge of seeing some of the artwork before it goes 'live' on the blog and you should not hase favourites but Rosie I must congratulate you on this submission it is stunning!!!!


Going for Gold

8’’x8’’ White card

Green patterned card / Black card /Elegance card

Spellbinders Die

Geisha girl stamp / Chinese sentiment stamps

Black embossing powder

Distress inks – Peacock feathers, Barn door

Embellishments

Cut your green card slightly smaller than 8’’x8’’ and adhere to base card. Now you can edge the card with a gold pen.

Using a small spellbinder die cut three shapes from the remaining green card. I used a versa fine black inkpad to stamp the sentiments then applied black embossing powder and a heat gun to fix.

Using a spellbinder die I cut out a topper.

I stamped 3 images using the Geisha girl stamp onto Elegance card using a black memento inkpad.

Next I cut out the smaller butterfly from the second image and the larger butterfly from the third image.

I painted the Geisha girl and butterfly’s using distress inks blended onto a splodge away mat

Once the image had dried, I went around the edges of the topper and over all of the lines of the Geisha girl with a gold pen.

I cut the black card to measure 6’’x6’’ and then used a decorative punch on the corners before finally assembling the card and again edged in gold with my pen.

I made a tassel from some embroidery threads and attached it to a charm as an embellishment.
 
Rosie x


Tuesday 28 August 2012

Golden Happiness

Project By Jimbo 


Basically I used an  A4 piece of black cardstock.
Put perfect medium all over a butterfly and swirls SplodgeAway mask and run it through the Calibur
Gold embossing power was sprinked over the card and heat embossed . Next cut into three pieces and align on card.

Add some black cosmic shimmer black glue to make pearls around edge and add black organza ribbon which was crinkled with a heatgun and gold embellishment added.
Cut two butterflies from spellbinder dies. Cover with Perfect Medium and heat emboss with gold embossing powder. Position on your card.

Thanks For Looking

Sue x

Monday 27 August 2012

Golden Sands


By Sam Crowe

Items Used

Stamp - Michael Poole
SplodgeAway Mat - "Demonstrator"
SplodgeAway Mask - Swirls
Breyer
Water Colour Pen - from Pencil Factory Keswick
Wow Chunky Gold embossing powder
Paper Journeys - paper pad images
Serrif Professional
Studio Matt & Inks all bought from www.suzicraft.com
Distress Inks used : Weathered Wood, Mustard Seed, Black Soot, Fired Brick
Adirondack : Butterscotch, Juniper
Label - Marianne Creatables Die from Suzicraft
Crafters Companion - Glitter Spray + Spray & shine Fm: Suzicraft

Golden Sands
 For this project I stuck to my idea of the Memory Tags and envelopes I used in the Distress Project. I look at these tags and they just immediately inspire me. The first thought that came to my head when thinking of gold and memories was holidays and Golden Sands. So, how did I do this - well this is something I would not have thought of making a few months ago but with my recent classes with Annette and Maria I have a whole host of new ideas opening up to me.


I started with the inner tag this time, on one side of the tag I Brayered using the method that Barbara Gray showed everyone on TV in August using the SplodgeAway Mat and I also used the torn paper method to get the different colours down the tag. I wanted bold even thought normally you might start a little more muted on colours for Brayering, but this was about Golden Sands. The dark sky? well I think I did that without realising because that is what the sky has looked like most of summer?! And it gives a little atmosphere to the tag.
On the other side of the tag I used a sponge folded up in my hand and the same piece of torn paper to make light and dark lines down the sky, sea and sand. I then filled in using my distress sponge and inks.

The same with the Envelope - on one side I stamped the Michael Poole image several times, this stamp is very easy to line up to add just one or two extra huts - I then watrcoloured the whole image, which is something I don't often do. I had all my inks layed out on my SplodgeAway mat so that I could just add extra water very easily and mix the colours which you wouldn't be able to do with just the ink pads. On the other side of the envelope I used the same stamp again but slightly different stamping. I filled the beach up with the Swirl Mask to give a bit of depth and warmth to the Golden Sands and then I splodged lightly over the houses with different colours to give a muted water colour effect.
I then added the images which I chose to suit the background rather than the other way round. I added a bit of Wow chunky gold to the sand, a bit of Glitter spray and made up a little verse to show what the Memories were about. I then sprayed the envelope on both sides with Spray & shine to protect them.
Happy memories of Golden Sands, of Ice-cream, Chips & Tea, But most of all my Darling, Happy Memories of You & Me!
Hope you like my Golden Sands Holiday!!
Bye for now, Sam

Sunday 26 August 2012

'G' for 'GOLD'

 Today I thought I would focus on products sold at Suzicrafts.
All the card stock, the metal corners, the die I used for the floral flourish, the ink,  embossing powder, liquid pearls and stickles are all available from suzicrafts, as is the SplodgeAway mat iv’e used for blending the ink onto the embossed cream card stock.


I have stamped the gold card with black versafine then applied clear Wow embossing powder, the cream card was embossed through a  mask with the cuttlebug, I then added tattered rose ink with the splodgeAway mat, it gave the subtle look I was after. The floral flourish  is a marianne  die which I cut from bazzill card stock, everything was finished with liquid pearls and stickles.

Thank You for stopping by
Karen x

Saturday 25 August 2012

Masked Birthday Balloon

Project By Dimply

You Will Need

SplodgeAway mat
SplodgeAway A5 Easy ink card
Splodge-a-mask  / Balloon cogs
Dylusion inks    pure sunshine/ London blue /  Post box red
Pearl Mist Cosmic Shimmer
Distress Inks       Mustard Seed /  Spiced Marmalade / Festive Berries / Chipped Saphire
8 X 8 scalloped card
A4 Orange card
Die cutting machine / Grand nestabilities - Grand labels 4
Double sided tape / 3D foam pads

Place Balloon mask onto A5 card, and spray first colour, reposition, and spray second colour, reposition again and spray third colur, then spray with cosmic shimmer,  Please allow for drying times inbetween sprays.

Using a die, cut out balloon, then using a larger die, cut out a piece of orange card.  Tape balloon onto orange card.
Take another piece of A5 card, distress, then emboss cogs, cut out.

Distress 8 X 8 card, 3D ballon onto middle of card, position cogs around outside, add sentiment.

Thanks For Looking

Dimply x

Thursday 23 August 2012

A Tag and Envelope


By Sam Crowe

 Items Used:
SplodgeAway Mat
SplodgeAway Mask - Swirls - Dots - Balloon
Stamps By : Kaisercraft - Kanban - Crafty Individuals - Sam Poole
Tim Holtz Distress Inks - Milled Lavender - Tea Die - Dusty Concord - Antique Linen - Walnut Stain
Ribbon, feather and Label etc from my stash.

A lot of work went into this project so I won't bore you with all the details I will just give you the gist of what I did. I had bought these gorgeous envelopes with large tags inside for putting together mini albums but thought they would make great Project pieces, for mini memory cards.
Firstly I layed out my stamps to get the positioning right before I actually inked and used them. Then I used my Masks to edge off the top of the envelope and the inner tag. I always use the masks before I do any distressing so that you get that shadow effect underneath that you can either fill in with a different colour ink or leave as a pure pattern, on this project I have done both. I then distressed the Envelope making a back and front, the Tag inside was the last to be distressed to match the back and front. I think the swirl Mask works really well on the top of the tag. Of course my "Demonstrator" SplodgeAway Mat was used for the whole project, I couldn't be without it.
Then I Distressed it, I held back here as I wanted just a pure vintage look, I wanted to leave a Hint of what the mini album might have looked like in its glory days! Hence the white rose ribon and just the slight faded look on the inner tag, I reckoned any distress look from over the years would mostly show on the external item!
I think the best part of this project is the Inner Tag with the Picture of the lady the lace stamp and the floral Mask make a lovely backing together and I will definately be repeating this at some point. I have used this mask so many times, along with the Dots, Hearts and Air Balloon and I am still getting completely different results with them, their limits are endless!
I hope you like it, I certainly enjoyed making it!

Bye for now, Sam

Tuesday 21 August 2012

The Letter is 'D'

Okay D for Distress..I love messing with my SplodgeAway mat and my distress inks because it blends them so beautifully. But you know when you have a play in your craft room and make something and then dont know what to do with it? well this is what happened to the piece of card that is the background to this card.


Project By Jimbo


I had ran a piece of the Easy Ink card through the calibur with one of the everyday SplodgeAway Masks and blended it with a few different green distress inks and a touch of rusty hinge and then I stamped it all over with a set of Sam Poole stamps from Creative Expressions. I then embossed it with versamark and used clear embossing powder.


So this piece of card has sat in my craft stash for weeks and weeks, I kept bringing it out and putting it back I had no clue what to do with it but I loved the way it had turned out. So I looked at the design team menu for cards and D for distress!!! finally something to use it on LOL I stamped out some of the flower stamps and then distressed them and punched them with a cropodile, I had some small wooden butterflies and leaves in my stash so I covered them in distress inks and glossy accents and just made a small 3 page tag which I distressed and added a sentiment too.

Hope you like it ...

thanks for looking
Sue xx

Sunday 19 August 2012

Masculine Distress !!


Something more masculine from me this week.......
Project By Karen Wright
Before I give you a little run down of “How to” I’d just like to say the SplodgeAway demonstrator mat is awesome so much more Splodge space to work on, it made making this card a breeze!

I started with some Tim Holtz kraft resist card, then using shabby shutter, tumbled glass, scattered straw, walnut stain and mustard seed distress inks I coloured the kraft card, the effect of the resist showing through is impressive.

Then using a piece of SplodgeAway easy ink card I randomly stamped a ships wheel in shabby shutters  when this had dried I then inked the card using tumbled glass, after this I used a splodgeAway balloon mask and ran it through the cuttlebug to emboss. I then used walnut stain to enhance the balloon pattern. To finish I distressed the edges and curled the corners.

Then for the main focus I used Adirondack caramel ink to stamp the ship on easy ink card, using a waterbrush I gently dragged the ink to give it a watercolour effect, I did the same on the waves and then added a little tumbled glass to colour  the rest of the card.


After finishing all the elements I assembled the card and finished with stickles and glossy accents, charms and a fabric brad.

All inks, mats and masks available from Suzicraft

All the stamps used are stampin’ up (very old sets)

Show us what you’ve been making with you mat and masks we’d love to come and visit your blogs, just leave a comment telling us what you’ve made and we will check you out

Karen x

Saturday 18 August 2012

Ornate Butterflies

Well I had to look up the meaning of 'Ornate' which I should not have had to do actually because I have a degree in English ...so I'm putting it down to old age and the grey matter slowly ebbing away and possibly the horrid weather we have been having its dampened my thinking powers!

 Its a privilege to be on the design team and heres my take on Ornate I hope you like it :)

Project By Jimbo
I used :- 8x8 White Cardstock - Splendid Circle Nestibility Dies - Marianne Creatables Die for Sentiment - The Sentiment was handwritten - SplodgeAway Butterflies - Parchment - Butterfly Stamp Sam Poole Creative Expressions -
Tim Holtz Distress Inks in Squeezed Lemon, Spun Sugar, Worn Lipstick, Stormy Sky and Rangers Perfect Medium - White Embossing Powder - Gold Embossing Powder - Liquid Pearls

Wednesday 15 August 2012

Dylusion Ghosting......

I have had a few people ask me how to use their Dylusion Ink Sprays when I have been out and about demonstrating so I thought I'd put this tutorial together for you.


You will need
SplodgeAway Mat
Selection of Dylusion Ink Sprays
Selection of Splodge-A-Masks
Water Mister
Watercolour Paper
Kitchen Towel


Spritz you watercolour paper with two ink sprays


Allow to soak in then roll your kitchen towel over wet paper


Lay your mask on and then spritz with a water mister.
Leave the mask in place and mop up the water with kitchen towel.


Remove mask and heat set with a heat tool.


Position your second mask and repeat the process.


For a more faded colour mop up extra ink with kitchen towel.


Project By Annette Lee

I then used an archival ink to stamp my chosen images.
Use a waterbrush to remove colour.
Spritz some ink onto your SplodgeAway mat and use as a paint palette.

I did lots of backgrounds like this and using other techniques at the same time. I'm going to bind them  to make an Art Journal  - you may see some of them in upcoming projects.
If you have any questions please leave a comment and we'll get back in touch

Happy Spritzing

Annette x

Tuesday 14 August 2012

Ornate Spellbinders


Project By Annette Lee


On my first outing to Suzicraft I was amazed at the fantastic prices they had on Spellbinder Dies. So this project was something I had in my crafty stash from a workshop I did ages ago. The Ornate Flower is made from a Fleur De Lye die. They can be made from any symetrical die that you have in your stash.


Thanks for popping by

Annette x

Monday 13 August 2012

Ornate Poppies


Project By Rosie

You will need

8" X 8’’ white card
Elegance card
Spellbinders  Dies
Doily stacker Die
Poppy Stamp
Distress Inks – Bundled Sage
Black Memento Inkpad
Ribbon ,pearls, mica powders, card candy

To Make Up.......

I started by cutting out the doilly die using a Grand Calibur using white card.
Next using Spellbinder Dies  I cut out the topper from Elegance card and then the two  Square Dies using an offcut of white card (these I cut in half to create 4 triangles.

Stamp the poppy design onto your topper using black memento inkpad and colour in with promarkers. Once dry I mixed some green mica powder and water on my splodgeaway mat and painted over the leaves.

I coloured my ribbon with the green distress ink and once it had dried stamped a leaf design along it.

Now using a blending tool , green distress ink and splodgeaway mat, blend over the  8’’ card letting the colour fade by using less pressure on the blending tool until you reach the centre of the card.

Blend around the edges of the topper and the doily.

Stamp around the edges of the topper and in the four corners of the card with the Distress ink pad.  I used a leaf design from clarity stamps on the corners.

Finally layer up the card using foam pads .Attatch the ribbon bow and  glue on the card candy and pearls I used Cosmic Shimmer Glue for the embellishments as it is strong and dries quickly.

Enjoy Your Crafty Day

Rosie x

Sunday 12 August 2012

Ornate Artisan


Project By Nicki Moss


"Sometimes you need a card that looks very ornate but is actually really easy to make - that's when die-cuts are invaluable. With mostly basic white cardstock, a bit of layering, and some ink blending made super-simple with the wonderful SplodgeAway mat, you can create something in minutes that looks like it took hours! Tip - use background paper with a tiny pattern to help show off the lovely shapes of the die-cuts, and layer them with foam pads to add dimension. For this card I used Spellbinders Ornate Artisan Tags & Accents set and a Marianne corner, and all the inking is done with Spun Sugar Distress Ink."


Regards


Nicki, x

Friday 10 August 2012

Vintage Lace Tag


By Nicki Moss


A vintage-style card using the SplodgeAway Mat for ink blending.


What you need:


SplodgeAway mat

Distress Ink – Dusty Concord

Stamps - Crafty Individuals tag; round birthday sentiment

Dies / punches - scallop border punch; decorative corner; plain and scallop circle

Colouring pencils

Ribbon, lace and flowers


What you do:


Cut a square of patterned paper and use your SplodgeAway Mat to blend Distress Ink around the edges. Mat it onto a co-ordinating piece of cardstock, then onto a square card blank.


Stamp your tag  in brown ink and colour the image with pencils, cut it out and mat it onto 2 pieces of cardstock, lightly edging all the pieces with Distress Ink.


Use a scallop border punch on both sides of a wide strip of cardstock then add some lace and ribbon.


Stamp a round sentiment onto a scrap of card, distress with ink, punch out and mat onto a scalloped circle. Fix to the card just under the bow.


Embellish your card with a decorative diecut corner and some paper roses.

Thursday 9 August 2012

Lacey Flowers


L  for Lace


Project By Karen Wright


Start by applying distress inks onto your SplodgeAway mat, then spritz with water, rub the easyink into the ink and allow to almost dry, then drop a couple of drops of ink from a reinker and agin lightly spritz with water and allow to dry naturally or use a heat gun (Do not use a heat gun on the mat)
Once completely dry over stamp with your chosen image and mount onto bazzil,
For the flower, use a piece of the same inked paper that you created earlier and make a rolled flower then gather the lace around the outside and using a hot glue gun attatch to the card, finish with a greeting.


You Will Need

SplodgeAway mat
Distress inks
Inkadinkadoo stamps
Bazzil Cardstock
SplodgeAway Easy Ink card
Crafty individuals butterfly stamp
length of lace

Hope you have a go yourself. Thanks for stopping by!
Karen x

Wednesday 8 August 2012

Papillion Lace


Project By Rosie

6’’ white card
SplodgeAway mat
Distress inkpads – shabby shutters, bundled sage, wild honey
Memento inkpad – rich cocoa
Dimension stamps- petal passion
Hero Arts – Papillion
2 x labels
Versa mark stamp pad
Embossing powder – copper
Embellishments - Lace, ribbon, a brad and your Sentiment

I used the three distress inks and a blending tool on the splodge away mat to create a colourful background on the white card.

Next to create the background I over stamped all over the card using the verse stamp and the bundled sage Distress ink.

 While the card was drying I cut out two different sizes of tags and coloured these to complement the card, this can be done either using punches or cut freehand or use luggage labels.

Decorate the larger tag using Memento rich cocoa inkpad and the butterfly stamp.

Using  Versa mark ink pad stamp two images onto your card and cover with copper embossing powder, now use your heat gun to heat emboss and fix in place.

Now it is time to assemble the card.

 I made a hole in the top of the small tag and threaded ribbon through it and you can stamp a secret message on to this.

I attached the lace around three sides of the large tag using double sided tape and added a brad at the top for decoration .The tag was attached to the card to form a pocket into which the small tag fits. I used a foam pad stuck to the bottom of the large tag leaving the top open to enable the small
Tag to slide in and out easily. Finally I added a sentiment.

TFL
Rosie x

Tuesday 7 August 2012

'L' for Lace

Todays card is continuing with our 'SplodgeAway' alphabet theme and this is mine for 'L' for lace.

Three pieces of A4 cardstock two in beige and one in brown both pearlised and might I add the best quality and value for money I've found, which is in Suzicraft greatest place to craft ever :)

One piece folded to A5 for base of card, the other beige and brown card was cut with spellbinders edgeabilities in different patterns to form my 'faux' lace technique the beige and brown pieces were stuck together and placed alternately on a piece of cardstock with the beige lace glued into place.

I distressed the edges of some organza ribbon using my ever present SplodgeAway Mat (best thing ever for blending ink) and crinkled it carefully with my heat tool and added it to my card with two hat pins. The sentiment I used was from creative expressions. Labels 18 was cut in beige card and then I faux cut it again in the brown and added it to my card. Hope you like it and might I add all these products were bought at Suzicraft the friendliest craft shop in Stockton-on-Tees!!!

Hope you enjoy making the card.


Project By Sue Jimson

Please make sure you do not use a heat tool on your SplodgeAway Mat

bye for now Jimbo xxxx

Saturday 4 August 2012

Beaded Pearls


Hi everyone I hope you’ll join in with our alphabet crafting, over the next few weeks we are going to be showing lots of cards and other paper crafting creations using products and techniques spelling out the word SplodgeAway. This card fell into a couple of categories and we have decided to post under ‘P’ for ‘Pearls’

My card is a pretty simple creation, using a two- step stamping technique.

I started by using my SplodgeAway mat and brayer to colour tint the white card with big and juicy ink. Then using a stampin’ up 2 step stamp, I stamped the first step with black memento ink, then on the 2nd step I used a stamp positioner to make sure to stamp in the exact location, then inked up the stamp with versamark before dusting with mica powder, then to finish I randomly stamped the edges with another stampin’ up stamp.

Assembly was using bazzill card, some ribbon and pearls, then stickled for a little bling.


Project By Karen Wright

TFL x

Friday 3 August 2012

Corset & Pearls


Corset & Pearls


Project By Sam Crowe

Core'dinations Card Stock - Adirondack Collection
SplodgeAway Mat
SplodgeAway Mask - Inner Swirl
Distress Ink - Broken China
Adirondack Ink - Denim, Juniper
Liquid Pearls - Onyx Pearl
Corset Stamp by  Clarity Stamps
Lace & flowers - my stash

I was lucky enough to use Barbara Gray's Corset Stamp from Sue at www.suziecraft.com. On this occasion I only wanted the bodice so I cut it out from the background wording. I then used the Inner Swirl Mask to make a pattern on the bodice by stenciling over it, I then re-coloured over the whole bodice using my SplodgeAway Mat and the same ink.
 I used the cut out shape as a guideline for a dress shape on the card itself, I then coloured the rest of the card the same way as I would when distressing, using my SplodgeAway Mat my inks and sponge to make my backing.
I also coloured the centre piece of card in the same way as the backing card after ripping the edges and bringing the tear in at the middle to shadow the shape of the bodice. I also dry embossed the card using the Inner Swirl mask.

After decorating the Bodice with Liquid Pearl I did a bit of hand sewing with the ribon to make it look like a lace top. (very fiddly) I then added the pearls from my stash on top and onto each of the dress shapes on the backing.


The lace across the card was adhered with a technique I learnt from Annette a while ago using double sided tape and folding it into itself as you stick it down. I then dry embossed the strip of card to go on top and used liquid pearls on top of the swirl to match the dress.

For the background I used cardstock from www.suzicraft.com Core'dinations - Adirondack Collection. In fact all items used were bought at Suzicraft!

I made up the verse as a finishing touch.

I would like to offer one word of advice to anyone who is using the Liquid Pearls, do it first or last and put it right out of your way until it is set, I ruined a fair few cards by putting my hand or fingers in it, but luckily I actually ended up with a better card stock, and kept the Pearl to the bodice. You can go a bit mad with the Liquid pearl! Less is more as they say. Hope you like it.
Sam

Wednesday 1 August 2012

Lady In A Pearl Necklace


Project By Rosie
8’’ x 8’’ cream card
Black Paper
8’’x 8’’ patterned black and cream paper
Cream card
White Splodgeaway Elegance Card
Embellishments – pearls, black crystals, feather
Black and White Cosmic shimmer glue
Black Memento ink pad
Ladies Portrait Stamp


Cut your black paper to 7 ½’’x 7 ½’’ and then punch a border around the edges . I used a Fiskars punch. Then stick this layer to your cream card.
Cut the black and cream patterned paper to 6 1/2’’x 6 1/2’’ then using foam pads again, attach this layer to the card
Next I cut an oval using a spellbinders die in elegance card, big enough to stamp your image onto and then using a slightly larger die to cut an oval out of the cream card.
Now stamp your image using Black Memento onto your white elegance card.
Colour in your image, I used promarkers – Ivory, Blush , and pastel pink for the lips.
Glue on your feather and arrange and stick your pearls and crystals to form a necklace.
Using foam pads mount the image on top of the cream oval and then again with foam pads attach to card.
Stick on your sentiment .
Next I used a silver pen to go around the edges of both ovals and finally I did a border around the card using alternate black and white cosmic shimmer PVA glue to create faux pearls.

Thank You

Rosie x